KaVo 25LP Series Overhaul Instructions
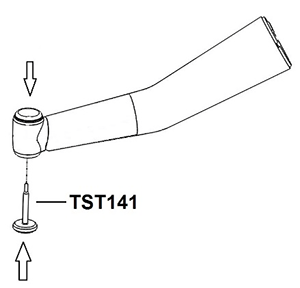
STEP 1
To remove the back button cap
Press tool TST141 to front end of handpiece through the front end of the autochuck.
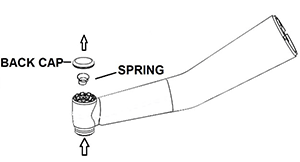
STEP 2
The button back button cap will be pushed out and removed from the back end of handpiece head.
Caution: do not lose spring when removing button
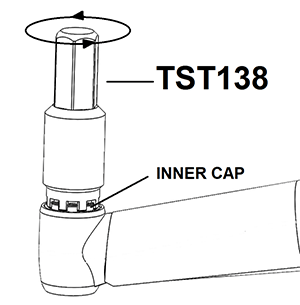
STEP 3
To remove inner cap
Make sure the tool TST138 and the inner cap completely interlock, then turn counter-clockwise to loosen.
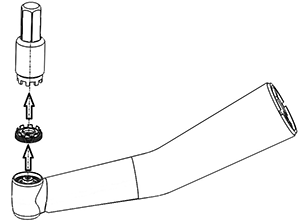
STEP 4
Remove the inner cap.
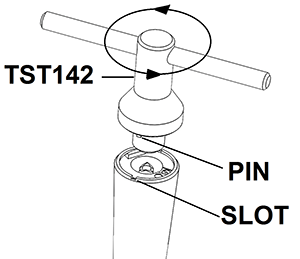
STEP 5
To remove base nut
Engage the pins on the tool with slots on base nut.
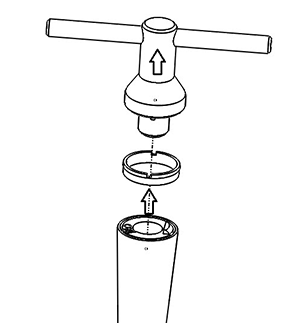
STEP 6
Turn counter-clockwise to loosen and remove the base nut.
STEP 7
To remove the base insert
- Press the sleeve tool into the base insert.
- Push the tool plunger fully into the sleeve tool to lock the sleeve inside the base insert.
- Pull on the sleeve tool to remove the base insert.