KaVo MASTERtorque LUX M8900L & M9000L Turbine Replacement
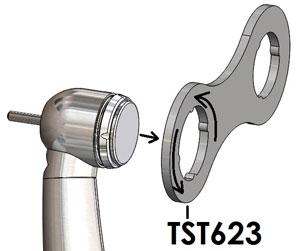
Step 1
Remove head cap using cap wrench (TST623)
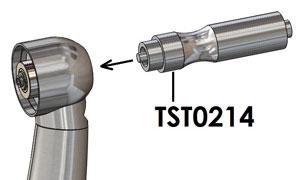
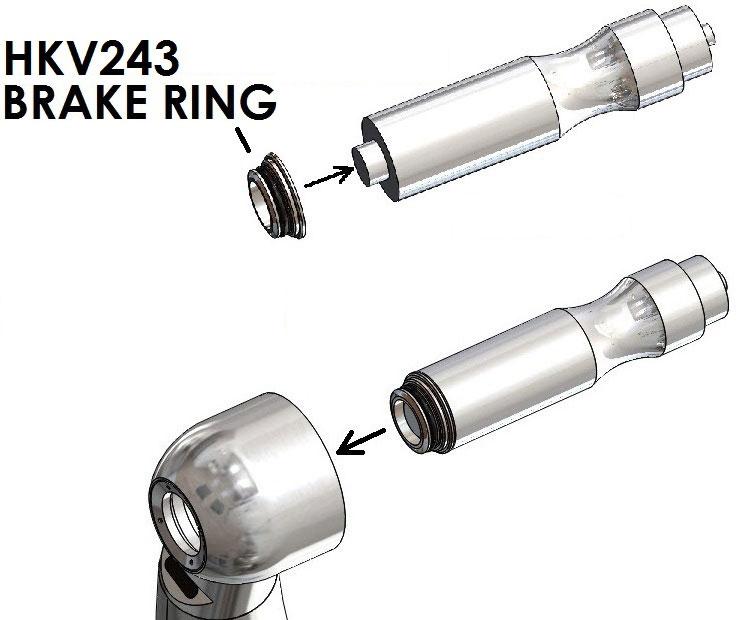
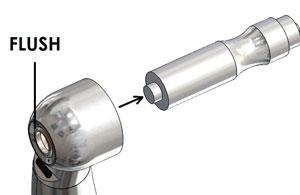
Step 2
Use short end of Brake Ring Tool (TST0214) to remove the failed turbine & brake ring from handpiece head
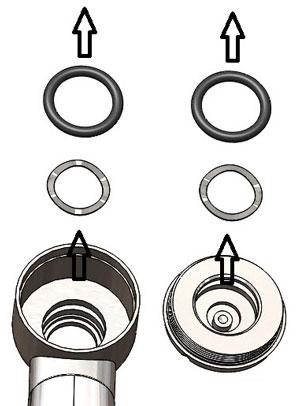
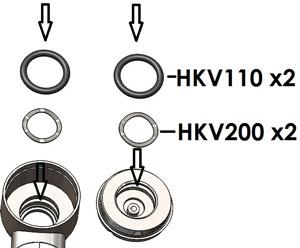
Step 3
Remove o-rings and springs from handpiece head and head cap
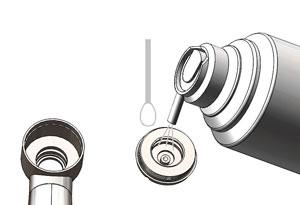
Step 4
Clean head and head cap with handpiece cleaner and a cotton swab
Step 5
Remove o-rings and springs from handpiece head and head cap
Step 6
Clean head and head cap with handpiece cleaner and a cotton swab
Step 7
Install new o-rings and loading springs into head and head cap
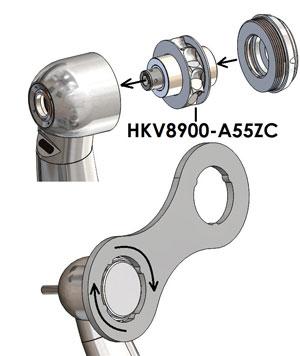
Step 8
Install replacement turbine (HKV8900-A55ZC) and finger tighten head cap to ensure thread alignment. ighten with cap wrench